

A Brief Intro to Orchids:
There are over 30,000 species of orchids in the world; however, only a few are sold in masses. The Phalaenopsis and Mini Phalaenopsis are the most popular and can be purchased from places such as Bunnings and Woolworths. The information in this care guide will be for these Phalaenopsis orchids.
Naturally, orchids are epiphytes, meaning they grow on trees. This unique way of growing means that they have totally different care requirements than typical ground-dwelling plants. Phalaenopsis orchids need a well-drained pot with a light, breathable, yet also moisture-retaining potting mix.
Why isn't my orchid re-flowering?
There are typically 3 reasons an orchid isnt re flowering, they are as follows:
Not enough light
Not enough energy (fertilization)
Not enough temperature fluctuation
These sound scary, however they are actually very simple. Let's break them down!
Not Enough Light: Orchids are often enjoyed as indoor house plants. While this is fantastic, if your orchid doesn't receive the right light requirements, it may not re-flower. So, what is the right spot for an orchid? The ideal location is in bright shade, avoiding direct sunlight. This could be right next to a large window or even in a room with multiple windows. Our favorite spot for orchids here at Orchid Hire is on the veranda/balcony. Just ensure the plant is out of direct sunlight at all times of the day.
Not Enough Energy: Orchids require a lot of energy to flower. After your brand new orchid has dropped its flowers and you've repotted it (see the section below), it should receive regular fertilizing, typically weekly. However, with our busy lives, weekly fertilizing can be forgotten. To solve this issue, Orchid Hire recommends a combination of two fertilizers. A granular slow-release, as well as a liquid foliar fertilizer. The liquid fertilizer acts as a powerhouse for the orchid, allowing it to quickly absorb nutrients and grow. The orchid can uptake this fertilizer through both the leaves and the roots, with the leaves being most important, so be sure to mist/splash the leaves as well.
Secondly, the granular slow-release fertilizer. This serves as your backup fertilizer. It's for those moments when you're rushing out the door and realize you haven't watered your orchid for a few weeks, so you quickly splash a cup of water onto it. That's all this fertilizer needs to act. Whenever you water your orchid, these granules will release small amounts of nutrients that your orchid can absorb.
Not Enough Temperature Fluctuation: What does this mean? It may simply mean that it's not the right time of the year for your orchid to flower. Orchids need a temperature difference between night and day of around 10 degrees Celsius. This translates to night temperatures of around 18 degrees and day temperatures of around 28 degrees. In Southeast Queensland, this typically occurs in late winter and into spring. One thing to note, however, is that if you keep your orchid inside your house, it may not experience these temperature changes due to heating, air conditioning, and insulation within the house.
What to do when the flowers die?
Option 1: If your orchid looks healthy with rich, shiny green leaves, you may wish to attempt to have it reflower. This is achieved by cutting the top third of the flower stalk off. It's crucial to ensure a clean cut with no tearing, using a sharp and clean cutting device.
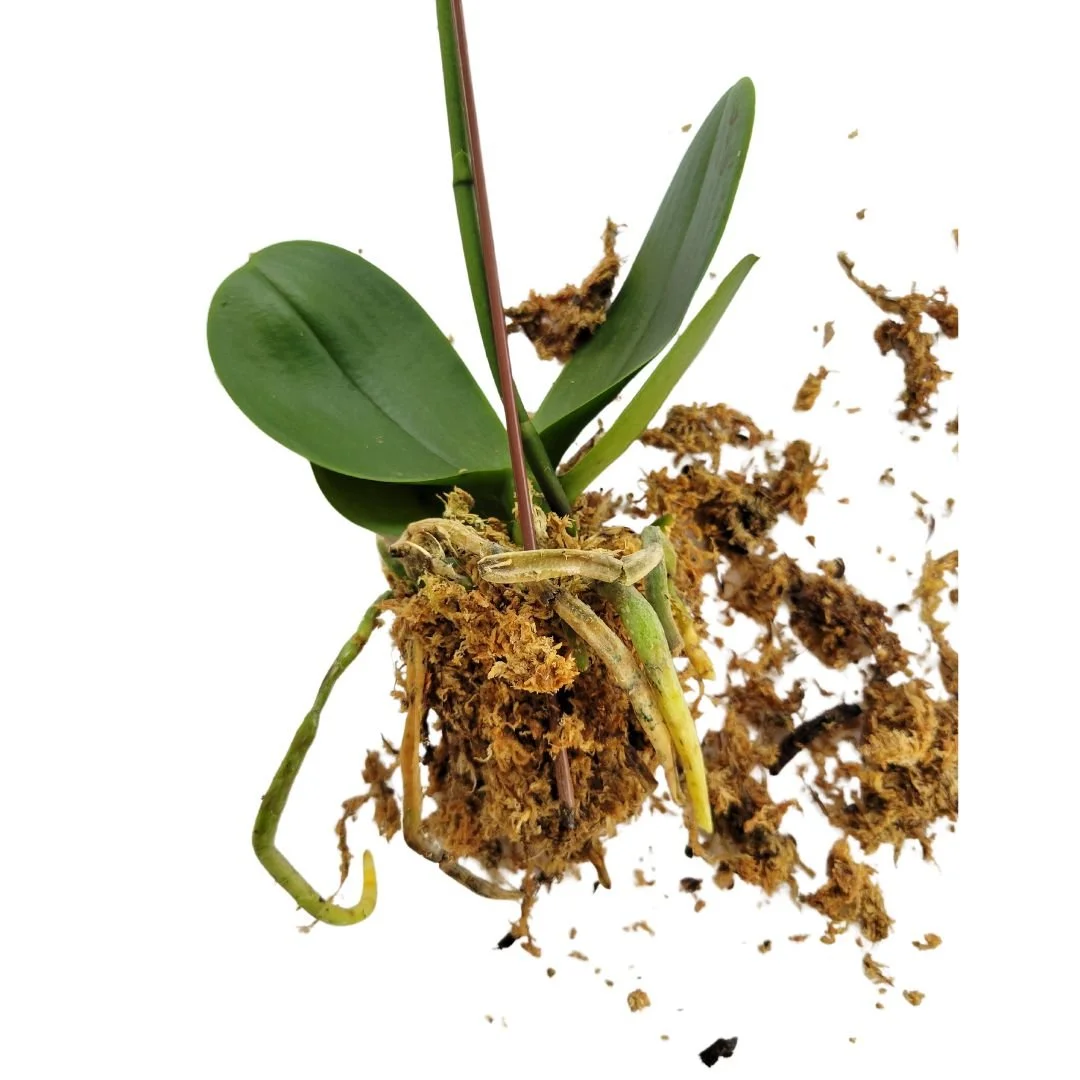
Option 2: Cut the stem down as close to the base of the plant as possible. Your orchid will not reflower until conditions are right; you can learn about these conditions in the above section “Why isn't my orchid re-flowering?”. This period without flowers allows the plant to recover from the substantial energy spent on flowering. After cutting the stem when your orchid has finished flowering, you should immediately repot it. Orchids purchased from stores are usually in pots that are too small for them. You will notice this when you take the orchid out of its current pot. It will likely appear something like this:
Whenever an orchid is without flowers, it is considered "Growing time." Any necessary repotting should be done promptly. Regular fertilization and watering should also be maintained. The orchid will flower again when conditions are right. In SEQ, this typically occurs around springtime.
If you are unsure what you will need or how to repot your orchid do not fear! It is simple and easy! Here at Orchid Hire we offer free step-by-step instructions as well as an Orchid Repotting Kit, with everything you’ll need to succeed! The orchid repotting kit also comes with printed step-by-step instructions, and a full care guide to give your orchid the best opportunity to thrive!

How to re-pot an orchid!
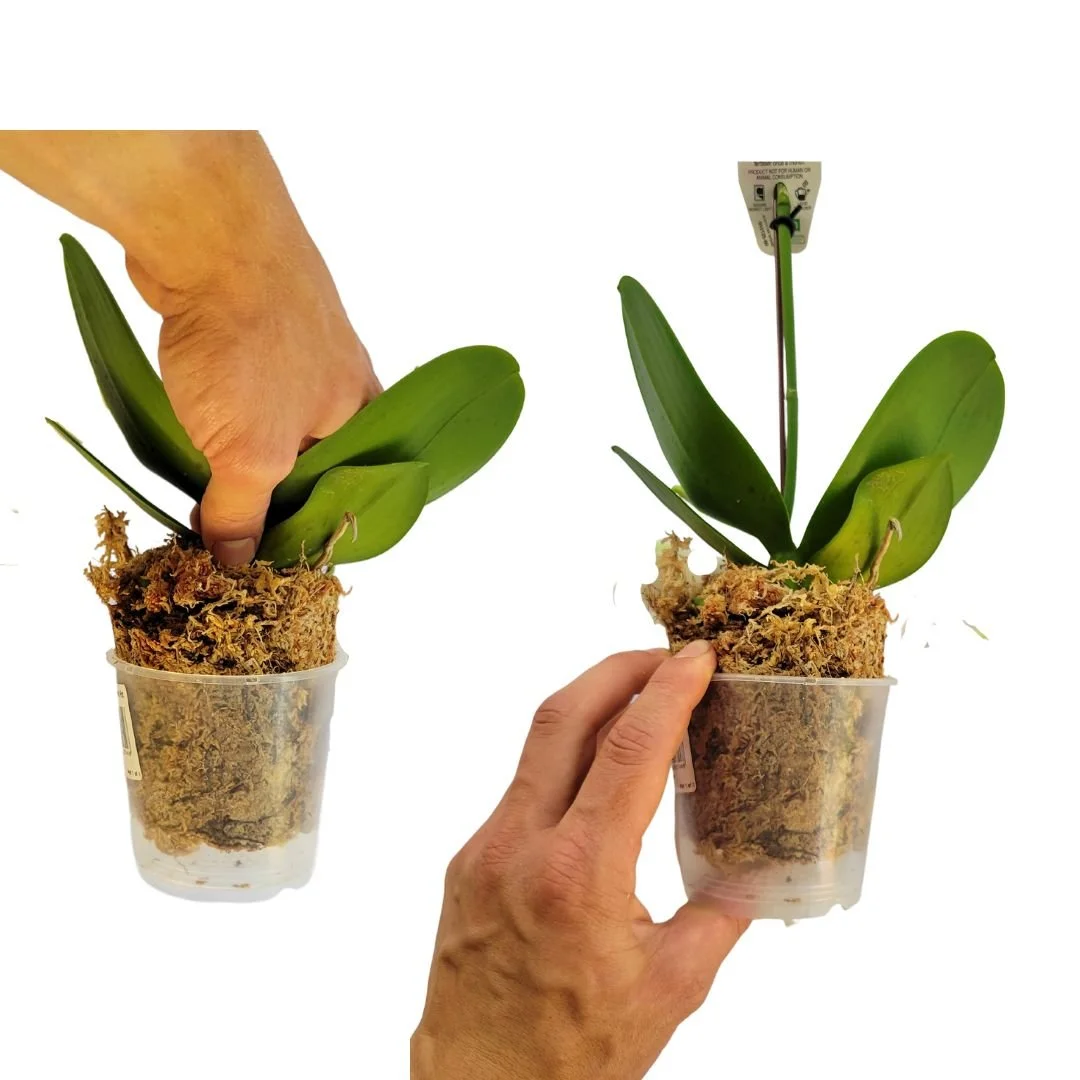
Step 1: Carefully remove the plant from its pot. We recommend a combination of pushing the bottom of the pot to release the plant simultaneously, pulling carefully but firmly from the base of the plant
Step 2: Carefully spread some of the roots and, if needed, remove any old growing media—media that may be moldy, green, smelly, or decomposed.
Step 3: Select a new, slightly larger pot with drainage holes at the bottom. Then fill the bottom of the pot with your chosen growing medium. Orchid Hire recommends a sphagnum moss/potting mix blend, available for purchase as part of our premium repotting kit.


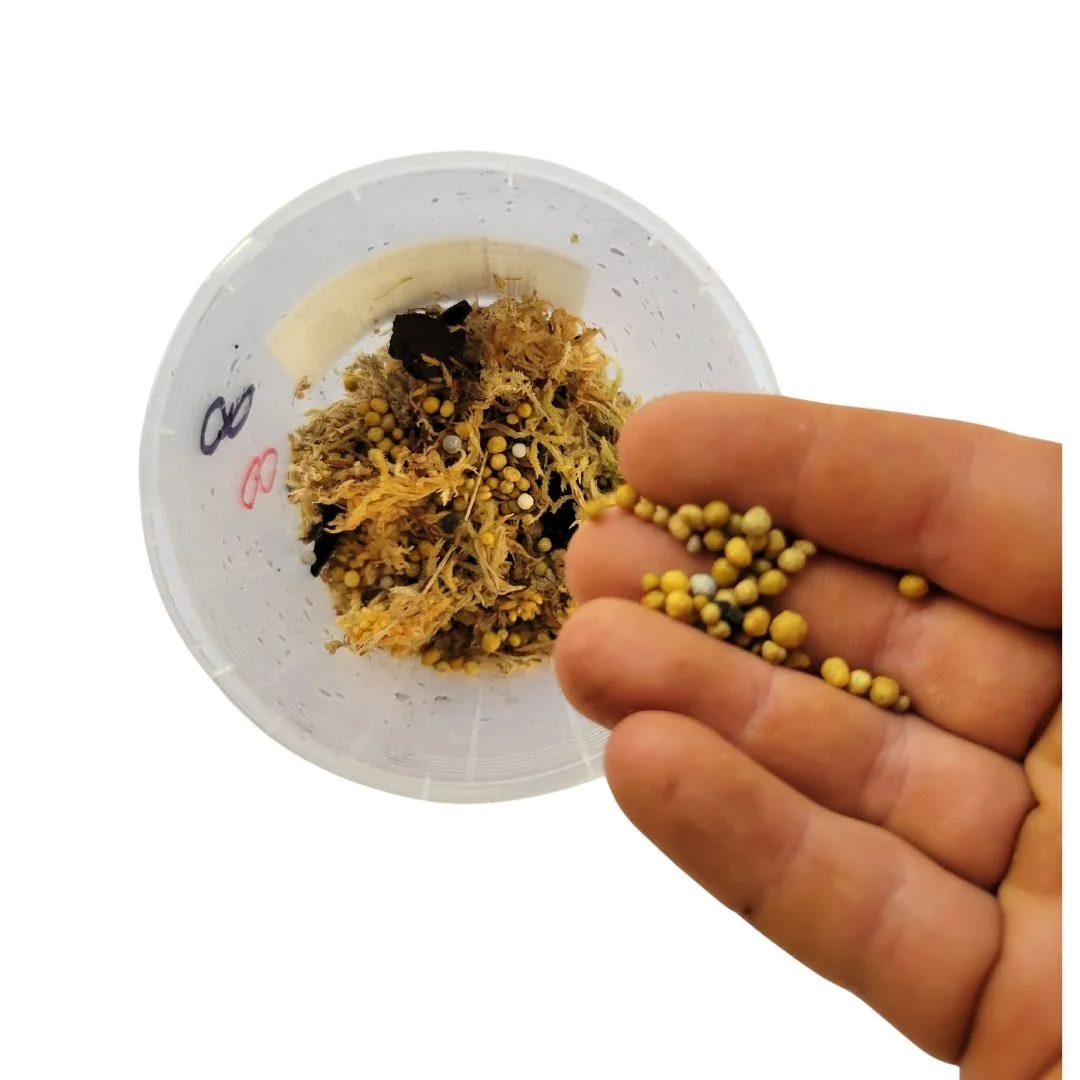
Step 4: Sprinkle a pinch of slow-release fertilizer into the bottom of the pot. It doesn't have to be much; in fact, too much can harm the plant.
Step 5: Place the orchid into the pot and carefully add Orchid Hire growing mix around the plant, pushing it down firmly but not too hard. Ensure the plant is well-supported and not slumping or falling to the side.
Tip: We find handling our growing mix is easier when it is damp. Simply add some water to it before handling.

Step 6: Ensure the base of the plant, where the leaves branch out, is clear of growing mix. Having growing mix against the base of the plant can lead to rotting.
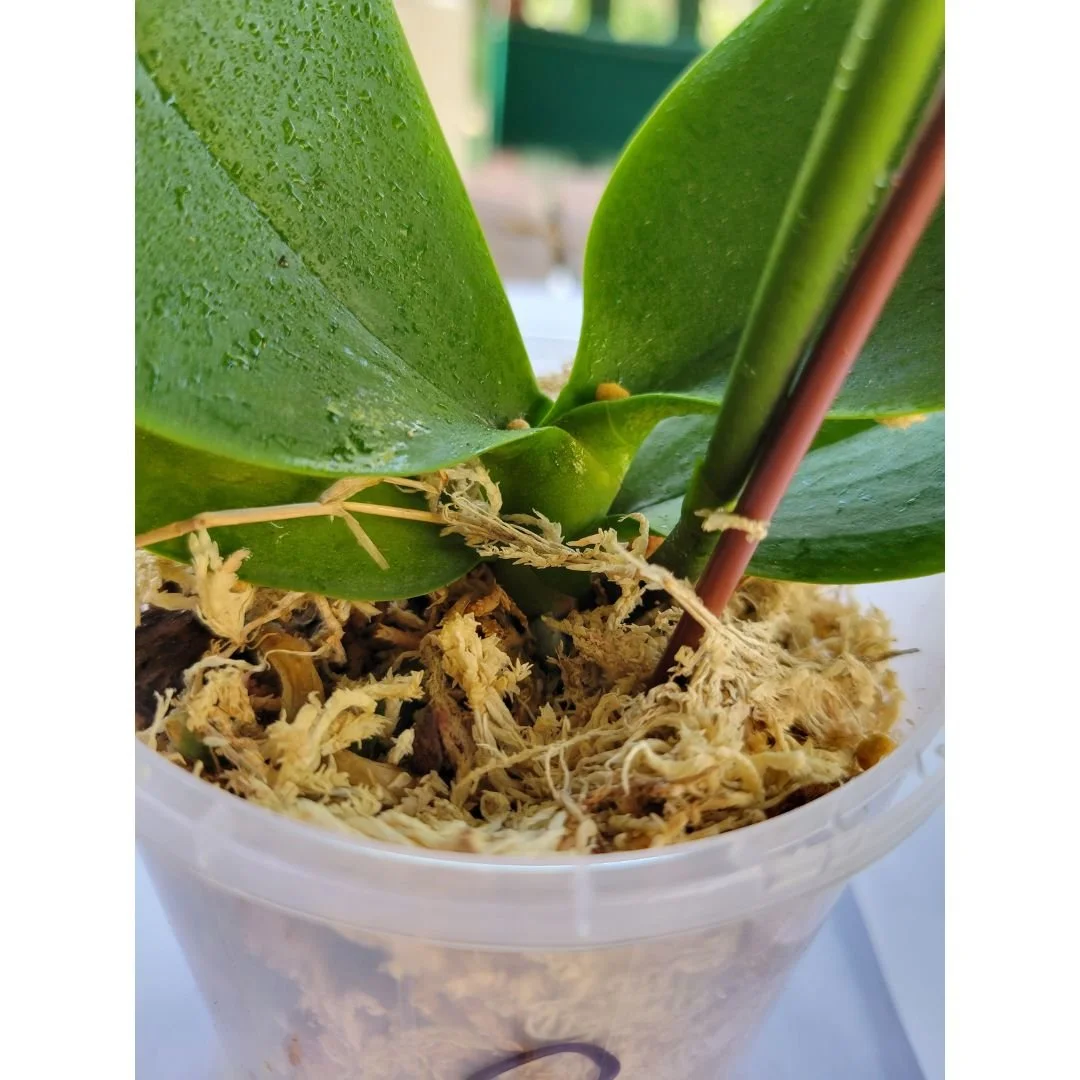
Wrong

Right
Step 7: Sprinkle another pinch of slow-release fertilizer around the top of the pot. Do not allow any to fall between the leaves of the plant, as it may burn the plant.


Step 8: Give the plant a good watering; this will help settle all the growing mix.
Step 9: Maintain care for your orchid, including watering weekly to fortnightly and Fertilizing fortnightly to monthly.


